Transforming a PC into a media center running Android TV is not as simple as installing Windows on a hard drive. Two approaches coexist, each with its own constraints: software emulation via Android Studio and porting a community ISO image onto a dedicated PC. Online guides often mix these two paths without clarifying their respective limits, leading to disappointments at startup.
Emulation or ISO Porting: Two Distinct Uses of Android TV on PC
The first distinction to make concerns the objective. A developer wanting to test an application on a TV screen will use the emulator built into Android Studio. An individual looking to recycle an old PC into a media box for their living room will lean towards a community ISO image, such as those available on SourceForge.
These two paths have almost nothing in common technically. Emulation creates a virtual machine within Windows or Linux, without affecting the host system. ISO porting, on the other hand, replaces the operating system or installs in dual boot, with specific partitioning of the hard drive.
Choosing the wrong method for the wrong use can lead to several hours of configuration lost. Before any manipulation, it is worth clarifying one’s needs: those who want to install Android TV on PC with Virank will find a detailed path that clearly distinguishes these two scenarios.
Hardware Virtualization in the BIOS: The Prerequisite That Guides Forget
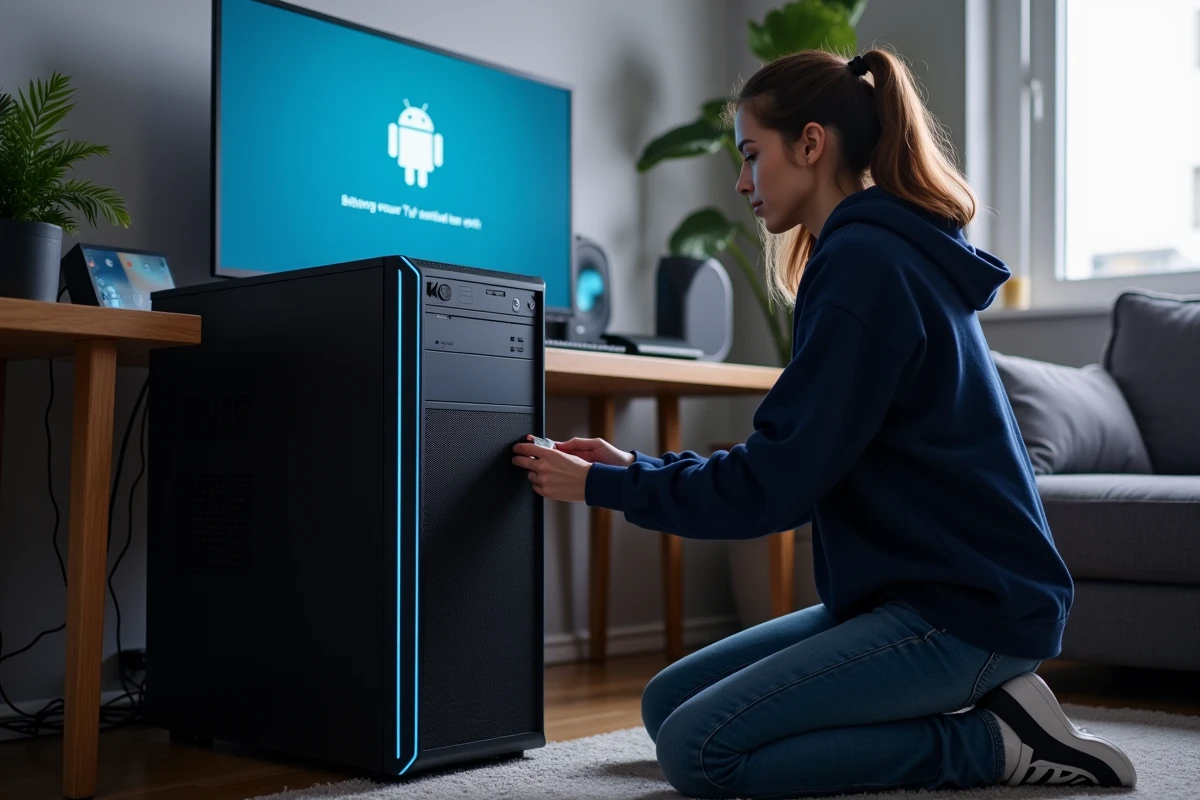
Most tutorials jump straight to downloading Android Studio or burning a bootable USB drive. They overlook a hardware prerequisite without which nothing works properly: hardware virtualization must be enabled in the BIOS/UEFI.
On Intel processors, this function is called Intel VT-x. On AMD, it is AMD-V (also called SVM). Without this activation, the Android TV emulator will be extremely slow, or may refuse to start. Feedback on this point is unanimous.
Accessing the BIOS and Enabling Virtualization
The key to access the BIOS varies depending on the motherboard manufacturer (often F2, Delete, or F10 at startup). Once in the UEFI interface, the setting is usually found in the “Advanced,” “CPU Configuration,” or “Security” sections.
- On an Intel motherboard, look for “Intel Virtualization Technology” and set the value to “Enabled”
- On an AMD motherboard, look for “SVM Mode” and enable it in the same way
- Save the changes and restart the PC before launching any emulation
This step takes less than two minutes, but without active virtualization, the Android TV emulator will not start or will run with unusable performance.
Android Studio and the TV Emulator: The Most Documented Method
Google recommends Android Studio as the primary development environment for Android. The tool includes a virtual device manager (AVD Manager) that allows you to create a specific Android TV emulation profile.
Creating an Android TV Virtual Device
After installing Android Studio, creating a Virtual Device TV is done through the Device Manager. You select a TV profile from the dedicated category, then download the corresponding system image. Google emphasizes the need to check the required system configuration and install the recommended SDKs to ensure emulation stability.
The emulator reproduces the Android TV interface with navigation by remote control simulated via the keyboard. You can access the Play Store, install video streaming applications, and test the on-screen behavior just like on a physical television.
The limitations of this approach are known: graphical performance lags behind that of a native device, high-definition video streaming may stutter, and some applications refuse to work in an emulated environment due to DRM protections.
Community ISO Image: Transforming an Old PC into a Media Center
For those wanting a dedicated box for the living room, community projects offer ISO images of Android TV tailored to the x86-64 architecture of standard PCs. The project hosted on SourceForge remains the most cited reference in forums.
Preparing the Hard Drive and Bootable USB Drive
Installing on a physical PC requires precise partitioning. Historical documentation mentions one FAT32 partition and one EXT4 partition as a basic scheme. The bootable USB drive is prepared with a tool like Rufus or Etcher, selecting the downloaded ISO image.
- Download the Android TV x86-64 ISO image from a verified repository (SourceForge, for example)
- Create a bootable USB drive with Rufus in GPT or MBR mode depending on the target PC’s BIOS
- Boot from the USB drive, choose between disk installation or testing in live mode
- Partition the hard drive if opting for a permanent installation
The live mode allows testing Android TV without writing anything to the disk. It’s a good way to check hardware compatibility before committing.
Hardware Compatibility and Graphics Drivers
The main obstacle of this method concerns drivers. Recent graphics cards do not always have compatible drivers with community ISO images, which can cause display issues or lack of hardware acceleration. Wi-Fi network cards pose the same type of difficulties.
Older laptops with integrated Intel graphics chips generally offer the best compatibility. Configurations with dedicated Nvidia or AMD GPUs are more hit-or-miss, and feedback on this point varies by model.
Google Applications and Services on an Android TV PC
Once Android TV is operational, access to Google services (Play Store, YouTube, Google Cast) depends on the chosen method. The Android Studio emulator includes Google services by default. Community ISO images, on the other hand, do not always include them, and their manual addition (via a GApps package) is not guaranteed to work.
Streaming applications like Netflix or Disney+ may refuse to launch on an uncertified device. Google Play Protect certification conditions access to certain protected content, and a PC running a community ISO image does not have this certification.
For use focused on video gaming or local content (video files stored on the network), these limitations matter little. For use oriented towards streaming platforms, they become a real hindrance that no simple manipulation can bypass.
The choice between emulation and ISO porting thus depends as much on the available hardware as on the targeted applications. A recent PC running Windows with Android Studio will be suitable for testing and development. An old laptop repurposed with a community image will serve as a decent local media player, provided one accepts compromises on streaming services and security updates, which remain the responsibility of the community.